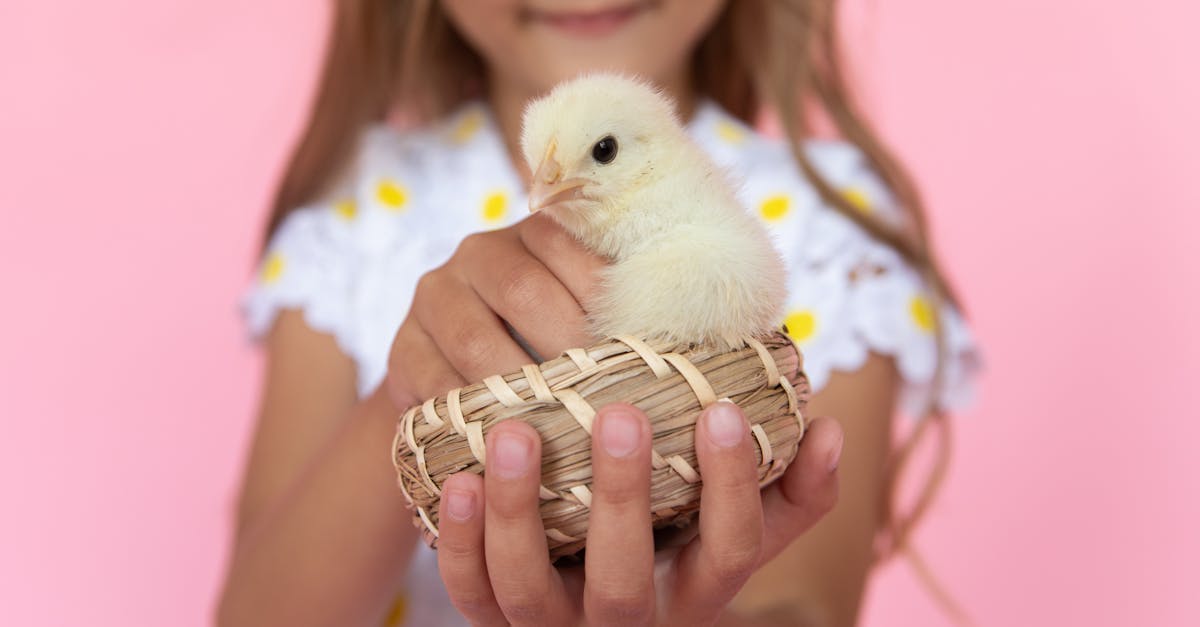
Introduction: Why a Chicken Brooder Is Essential 🐣
Raising baby chicks can be a rewarding experience for both seasoned and novice poultry enthusiasts. A crucial component of nurturing healthy chicks is creating a suitable environment for them to thrive. This is where a chicken brooder comes in.
A chicken brooder is a specially designed enclosure that provides warmth, safety, and a secure environment for chicks during the first few weeks of their lives. Without a proper brooder, chicks are vulnerable to cold temperatures, predators, and other risks that can impede their growth and development.
In this blog post, we will provide a comprehensive guide on building a chicken brooder, including essential supplies, useful tips, and best practices. Whether you’re a backyard farmer or an aspiring chicken owner, this guide will equip you with the knowledge to ensure your chicks grow strong and healthy.
The Core Elements of a Chicken Brooder
Creating a chicken brooder involves several key components that work together to provide an optimal environment for your chicks. Below, we delve into each element and its relevance to the well-being of your feathered friends.
Enclosure: Choosing the Right Space
The enclosure forms the basic structure of your brooder and determines how much space your chicks will have. Here are a few factors to consider:
- Size: A general rule of thumb is to allow at least 0.5 square feet per chick for the first two weeks. As they grow, increase the space to around 1 square foot per chick to prevent overcrowding.
- Material: Brooders can be made from various materials including wood, plastic, or metal. Use materials that are easy to clean and disinfect.
- Security: Ensure the enclosure has high enough walls to prevent chicks from escaping and to protect from predators.
Heat Source: Warmth is Vital
Chicks need a consistent heat source since they cannot regulate their body temperature:
- Heat Lamps: One of the most common choices, providing adjustable height for temperature control.
- Radiant Heaters: Offer a safe alternative to heat lamps, reducing fire risks.
- Temperature: Maintain a temperature of around 95°F (35°C) during the first week, reducing it by 5°F each week until they are fully feathered.
Bedding: Comfort and Cleanliness
Using appropriate bedding is important for hygiene and comfort:
- Materials: Pine shavings, straw, or paper towels work well. Avoid using newspaper, as it can be too slippery.
- Depth: A depth of 2-3 inches ensures adequate insulation and easy cleanup.
- Maintenance: Replace bedding regularly to prevent ammonia build-up and to keep the brooder clean.
Food and Water: Nutrition Basics
Proper nutrition is essential for chick growth:
- Feeders: Use shallow, accessible feeders that chicks can easily reach.
- Feed: Provide starter feed with 18-20% protein content to support rapid growth.
- Waterers: Ensure continuous access to clean water. Use chick-safe waterers to avoid drowning risks.
Steps to Construct Your Brooder
Building a brooder does not have to be a complex task. Follow these steps to set up a safe and comfortable brooder for your baby chicks:
Step 1: Select the Location
Choose a location indoors or in a well-protected area of your coop. The location should be draft-free, dry, and safe from predators.
Step 2: Assemble the Enclosure
You can opt for a pre-made brooder or build one using common materials:
- Build or Buy an Enclosure: You can use large plastic bins, wooden crates, or specialized brooder boxes.
- Add Ventilation: Ensure there is proper ventilation to maintain air quality without causing drafts.
Step 3: Set Up the Heat Source
- Mount the Heat Source: Install a heat lamp or radiant heater securely above the brooder.
- Monitor Temperature: Use a thermometer to check the temperature inside the brooder. Adjust the height of the heat lamp if necessary.
Step 4: Prepare the Bedding
- Add Bedding: Spread a 2-3 inch layer of your chosen bedding material across the floor of the brooder.
- Smooth Surface: Ensure the surface is smooth and even to prevent injuries.
Step 5: Install the Feeders and Waterers
- Place Feeders and Waterers: Position them such that they are easily accessible to the chicks but not too close to the heat source.
- Regularly Refill: Keep an eye on the food and water levels and refill as needed.
Step 6: Introduce the Chicks
- Gently Place Chicks: Carefully place the chicks in the brooder.
- Monitor: Regularly check on the chicks to ensure they are healthy and comfortable.
Pro Tips for Optimal Brooder Management 🐥
Maintaining a successful brooder involves ongoing care and attention. Here are some pro tips to help you manage your brooder efficiently:
Consistent Monitoring
- Daily Checks: Check the brooder multiple times a day to ensure temperature, food, and water levels are adequate.
- Temperature Adjustments: Gradually reduce the temperature as chicks grow to acclimatize them to outdoor conditions.
Hygiene and Sanitation
- Regular Cleaning: Clean the brooder regularly to prevent disease spread.
- Health Checks: Inspect chicks for signs of illness such as pasty butt, lethargy, or abnormal behavior.
Socialization and Enrichment
- Interaction: Spend time with your chicks to socialize them and reduce stress.
- Toys: Introduce items like mirrors or small perches to keep them entertained and stimulate natural behavior.
Record Keeping
- Growth Tracking: Record growth milestones and any health issues to monitor development.
- Supply Inventory: Keep track of bedding, feed, and other supplies to ensure continuous availability.
Ensuring a Smooth Transition to the Coop
As chicks grow, they will eventually transition to the main coop. This process should be gradual to minimize stress:
Begin Outdoor Visits
- Supervised Time: Start with short, supervised visits to the coop during the day.
- Increase Duration: Gradually increase the amount of time they spend outdoors as they acclimate.
Integrate with Existing Flock
If you have an existing flock, careful integration is necessary:
- Separate Areas: Use a temporary barrier so the new chicks and the existing flock can see each other without direct contact.
- Gradual Removal: After a few days, remove the barrier and observe interactions closely to ensure smooth integration.
Conclusion: Raising Chicks with Confidence
Building and maintaining a chicken brooder is a foundational step in raising healthy chicks. By understanding the core elements, following the construction steps meticulously, and keeping top tips in mind, any chicken enthusiast can create a thriving environment for their young flock.
Raising chicks in a well-constructed brooder not only ensures their health and safety but also sets the stage for a productive and happy chicken-keeping experience. So, gather your supplies, follow these expert tips, and start your journey towards successful chick rearing today! 🐤
For further reading on chicken health and brooder designs, check out Backyard Chickens.
Happy chick-raising!


